
Using the new OpenStreetCam upload scripts (and a detour to geotagging with JOSM)
Posted by mvexel on 8 March 2019 in English.The upload scripts are a part of the open source OpenStreetCam platform that are probably not as widely known. You can use them to upload images to OSC that you capture using something other than the Android / iPhone app or a OSC Waylens camera. My colleague Bogdan will publish a blog post going into more technical detail on the ImproveOSM blog soon, but I wanted to share my initial experiences using just the basic uploading functionality.
I don’t want to go into the script setup steps here, but if you are having trouble with that part, I am happy to help out.
Detour: Collecting and preparing my images
If you are just interested in the upload scripts, you can skip this part…
This is the setup I use to collect OSC images when I don’t use the app or the Waylens camera:
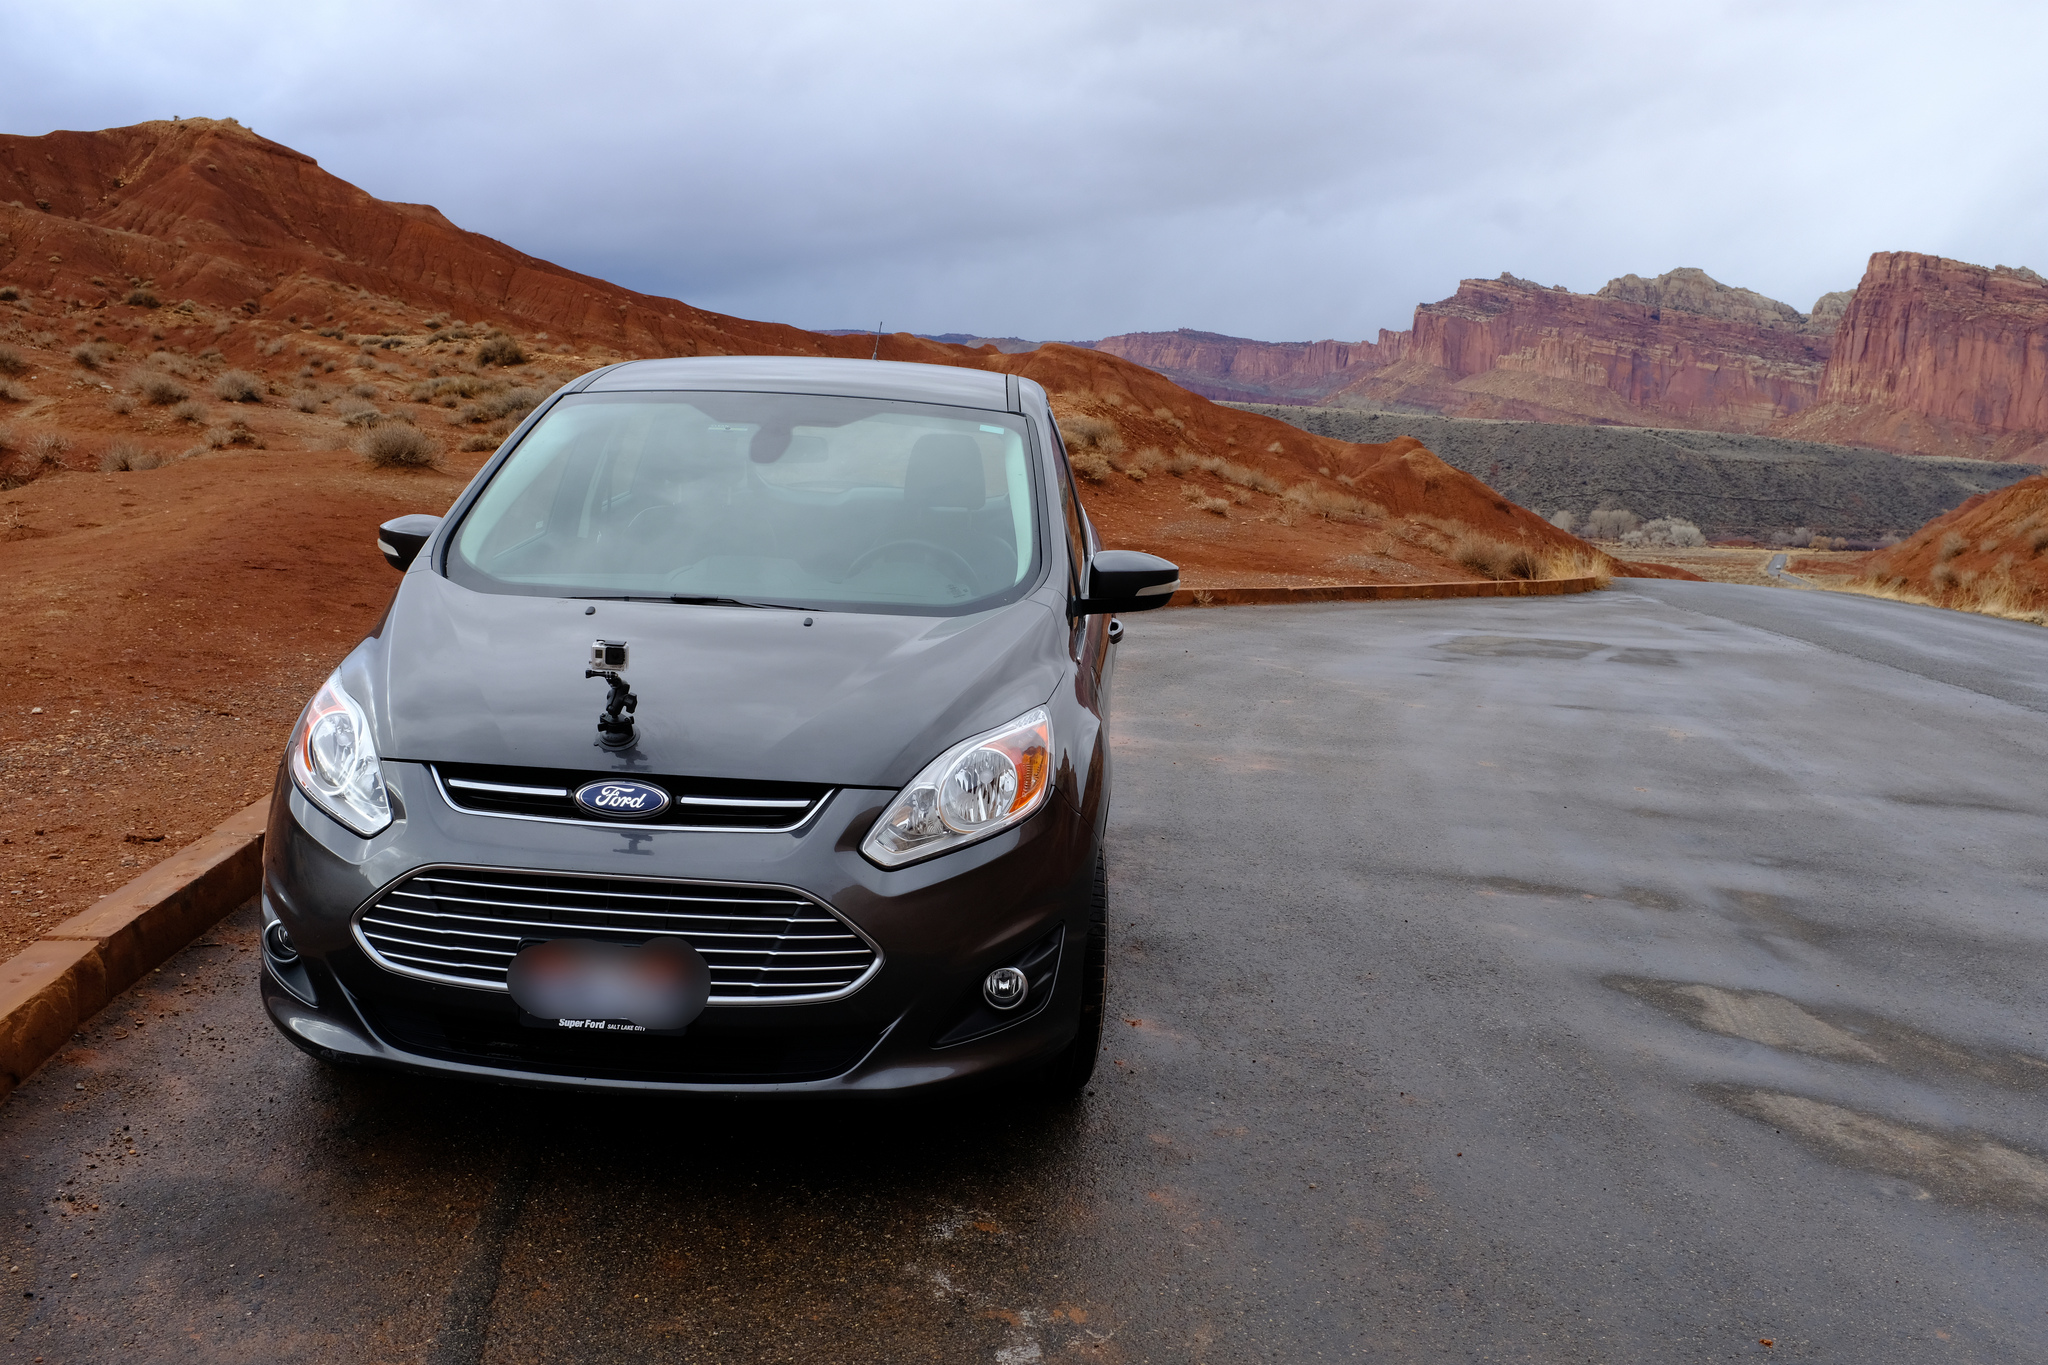
It consists of:
- A GoPro Hero3+ with underwater case
- A Ram mount with GoPro attachment
- Spare GoPro batteries and charger (similar to this one)
- A GPS unit (I use a Garmin Dakota 20 but any old GPS recording device will do)
- My car
Note that I mention a separate GPS unit. The GoPro Hero3+ doesn’t have its own GPS, so you need a separate GPS recording so you can geotag each image later.
When I am ready to start driving, I set the GoPro to take 1 picture a second, make sure it has a full battery, fire up the GPS and go. The battery lasts around 2 hours, so that coincides nicely with rest stops. Every time I get out of the car to stretch my legs, I change out the charged battery, drop the empty one in the charger and continue.
When I get home, I still need to geotag the images before they can be uploaded to OSC. There are many open source and commercial tools to help you with this, and I have tried many, but I find that good old JOSM does it the best. All you need is the Photo Geotagging plugin. This is how it works. I load the GPX track into JOSM first. Next, I load a set of images without location metadata into JOSM. The plugin will detect this and pop up its window that lets you match the GPX with the images.

Unless the time on your GPS device and the time on your camera are exactly the same, you will need to define the offset in this dialog. This is best done using an image at a known location, so you can visually check in JOSM if your offset is correct. In my case, I stupidly forgot to check the GoPro time setting, and for whatever reason it was reset to the default factory time of January 2013, so I had to calculate a huge offset, as you can see above.
When you’re satisfied with the location matching, you can right click on the ‘Geotagged Images’ layer and select ‘Write coordinates to image header’.

Okay, now we’re ready to use the upload scripts!
Uploading images
Now that we have a sequence of geotagged images, the process of uploading them to OSC is actually quite simple. In the terminal, call the upload script like this:
cd /path/to/upload-scripts
source venv/bin/activate # activate the python virtual environment, see setup steps
python osc_tools.py upload -p /path/to/image_dir
The script will scan the directory for image files and respond with something like
Searching for sequences...
    Found sequence at path /path/to/image_dir. Sequence type Exif-Photo.
Search completed.


Starting to upload 1 sequences...

For login go to this URL in your browser:
https://www.openstreetmap.org/oauth/authorize?oauth_token=xxxxxxxxxxxx
Login and grant access then press ENTER
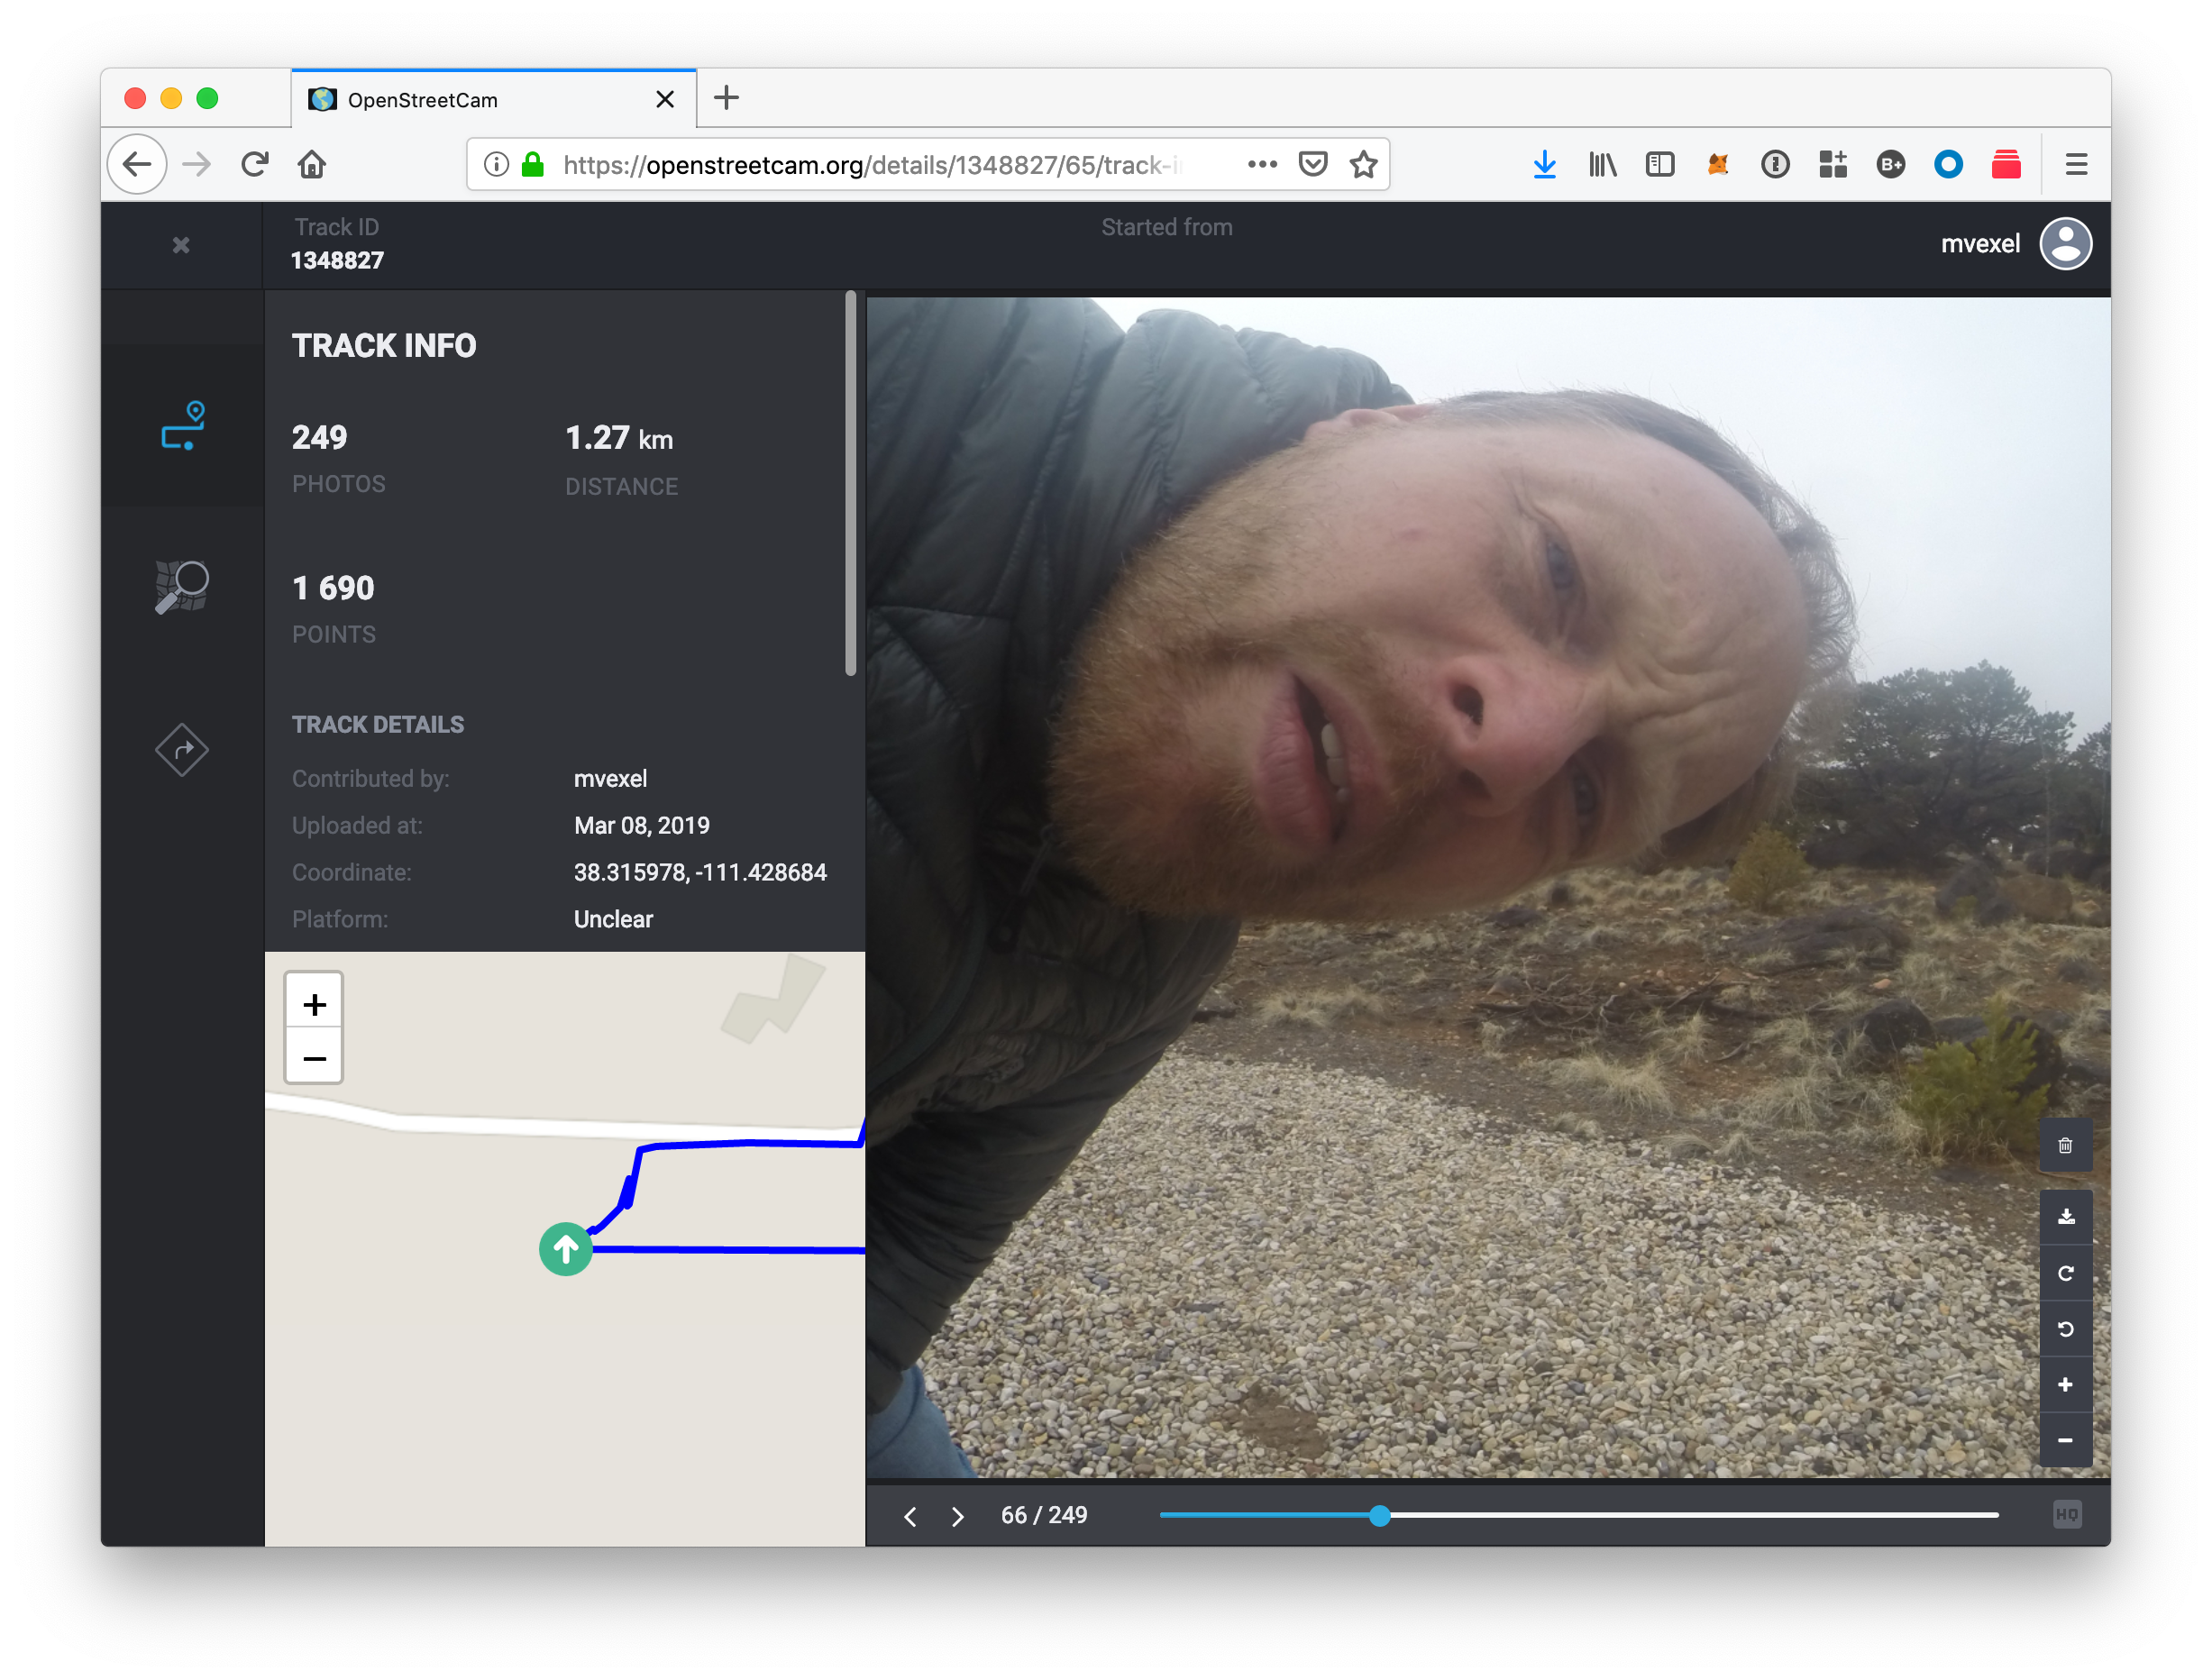
Next you will need to get an OSM access token, so the script can associate the images with your OSC account. This step assumes that you already created an OSC account using OSM OAuth, but if you’re reading this, you probably already have done that. Copy the OSM url into a browser and hit enter. OSM will respond asking if you want to grant OSC (minimal) access to your OSM account. Authorize this and you can go back to the terminal and hit enter there. the script will then initiate the upload. When it’s done, you will get a link to the OSC trip that has been generated. Congrats!
Discussion
Comment from Warin61 on 8 March 2019 at 23:40
An external attachment to a vehicle can make it illegal. One view is that it increases the risk of injury to a person who is hit by the vehicle. If you want to avoid the argument/fine then place the camera inside the vehicle .. preferably so it is unlikely to injure people inside the vehicle :)
Comment from mvexel on 9 March 2019 at 03:20
Hm interesting. I couldn’t find anything about it in the Utah traffic code. In any case I’m not that worried about it, but thanks. Note that in some U.S. states it is also illegal to attach anything to the windshield when it could obstruct the view.
Comment from vespax on 18 March 2019 at 13:00
If you are worried about dashboard reflection while camera is mounted inside vehicle, we have found that a black cloth will remove it. Simple lay the cloth (black T-shirt works great) across your dashboard. This makes the imagery much better.
Any support for Garmin fit files (virb gps enabled action cameras now use them)? Kaart can assist with creating the scripts if you’d like.
Comment from macronom on 19 March 2019 at 19:13
I recommend taking some pictures of the GPS, which shows the current time. This makes it easier to find the right offset.
Comment from amilopowers on 19 May 2019 at 19:36
In Ubuntu 19.04 (Linux) you have to enter “python3 osc_tools.py upload -p /path/to/image_dir” in order to make it work. The difference is the “3” after “python” just at the beginning.
Thanks for your guide!