
I really love JOSM, and the more I use it, the more I discover that it offers some very useful features… that some of you may not be aware of ! Even if some are less useful, simply knowing they exist opens up the possibility that you might find them useful!
I’d like to show them to you here.
This diary post is a follow-up to my previous one on JOSM: Building drawing tips, a perfect guide.
1st manipulation: Use JOSM
![]()
It is essential to use the JOSM editor, which enables a wide range of manipulations, particularly when combined with other plugins, especially the “buildings_tools” and “utilsplugin2” plugins!

See JOSM shortcuts.
2nd manipulation: F to follow (F)
You can follow another way by pressing F, but you must first place a node along the other shape to indicate where to follow it.
3rd manipulation: Angle tracing (A)
By pressing A (Draw nodes) and then A again (to activate the “angle” mode of the Draw nodes tool), you can create angles of 30°, 45°, 60°, 90°… press again A to disable the angle mode.
Very precise angles can be useful for creating accurate geometric shapes.

4th manipulation: Transfer history (Ctrl+Shift+G)
To transfer the history, select both objects – the old one and the new one – and press Ctrl+Shift+G. Both objects must be of the same type (two ways, two nodes or two relations).
Transferring history makes it easy to follow the recommendation to Keep the history.
5th manipulation: Drawing buildings parallel to other buildings
To quickly draw a building parallel to other objects, simply select another building (or two reference points) and create the new building.
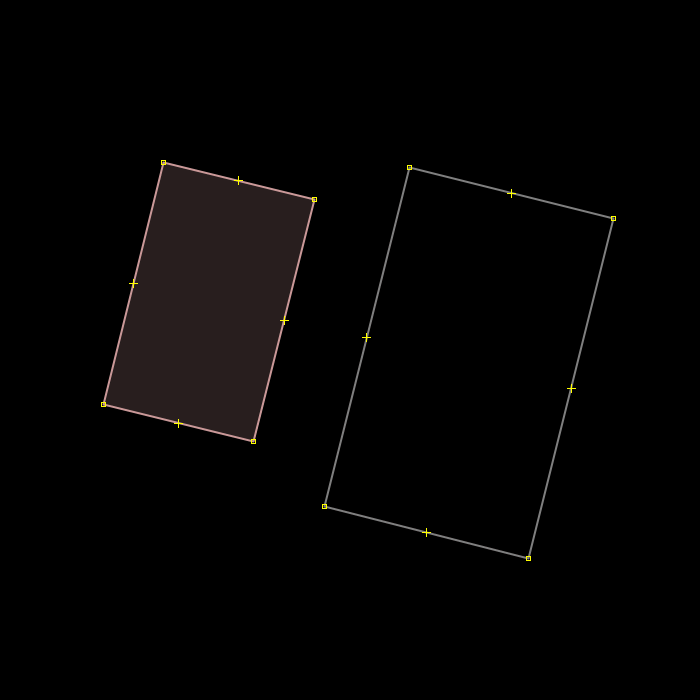
6th manipulation: Parallel (Shift+P)
Using Shift+P you can create a shape parallel to another that maintains the proportions (smaller or larger). Using Ctrl in the same time, allow you to adjust the distance of the parallel way more precisely.
Combined with other tools, this can be very effective, for example when mapping a grass area around a footway.
7th manipulation: Distribute nodes (Shift+B)
Distribute Nodes, Shift+B, allows you to distribute nodes at equal distances between the first and last nodes. It makes it very easy, for example, to create a perfect row of individual trees.
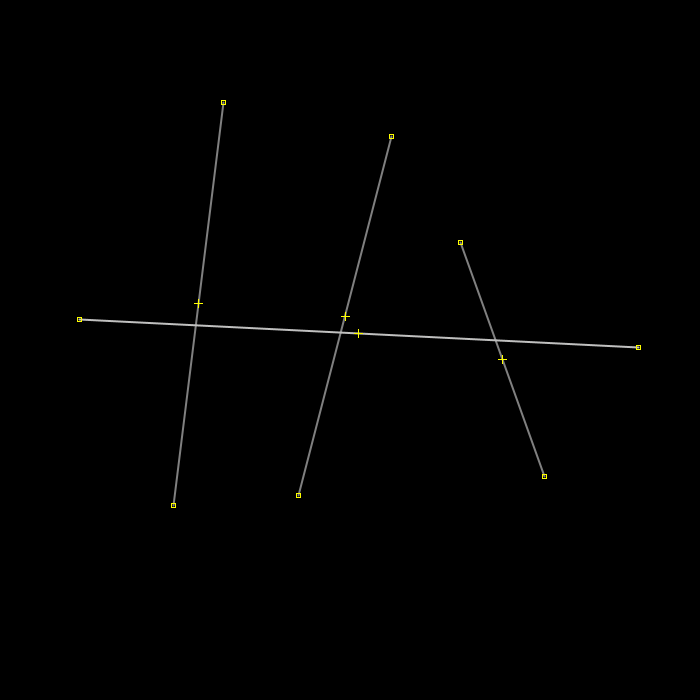
8th manipulation: Object Intersection (Shift+I)
Shift+I allows you to create an intersection between two objects, creating a shared node without altering the straight lines of the objects, resulting in flawless intersections.
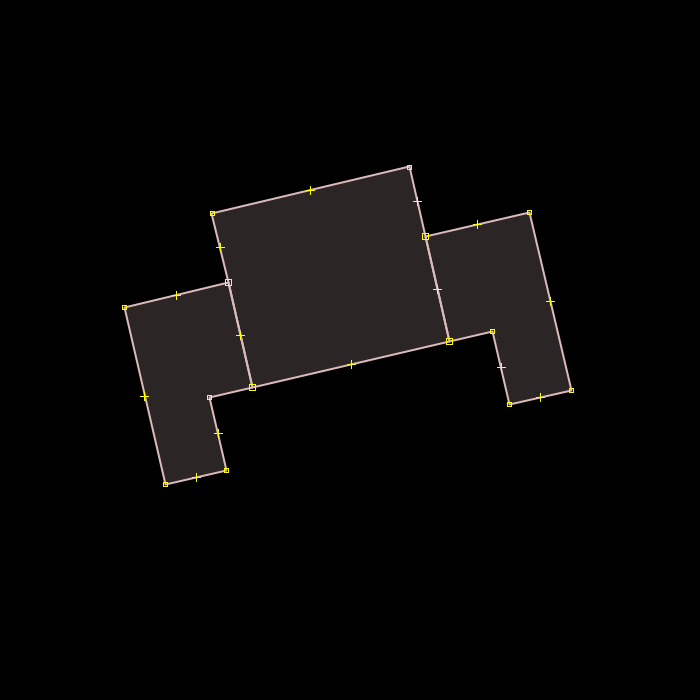
9th manipulation: Set buildings size (Ctrl+Alt+B)
Setting a building width (Ctrl+Alt+B) is useful for creating shapes of the same width, which can also be merged for other purposes. You must reset the value to “0” to use the tool without width constraints.

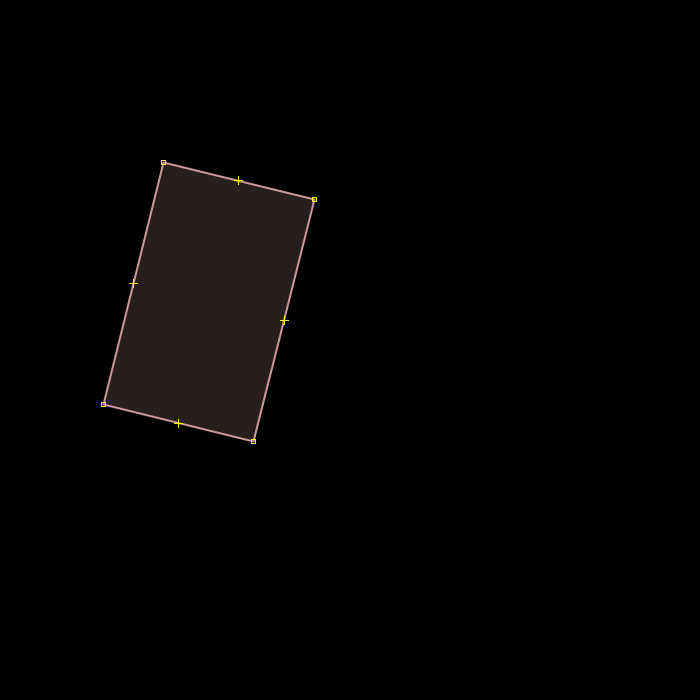
10th manipulation: Symmetry (Alt+Shift+S)
The symmetry tool (Alt+Shift+S) allows you to move objects symmetrically relative to another.
It is quite similar to the Mirror tool (Shift+M).
This is very useful in combination with Ctrl+C followed by Ctrl+Alt+V.
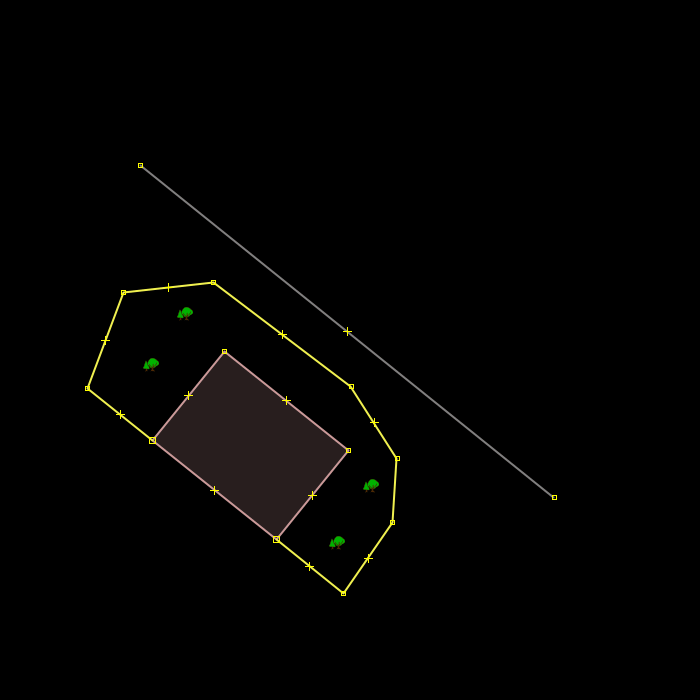
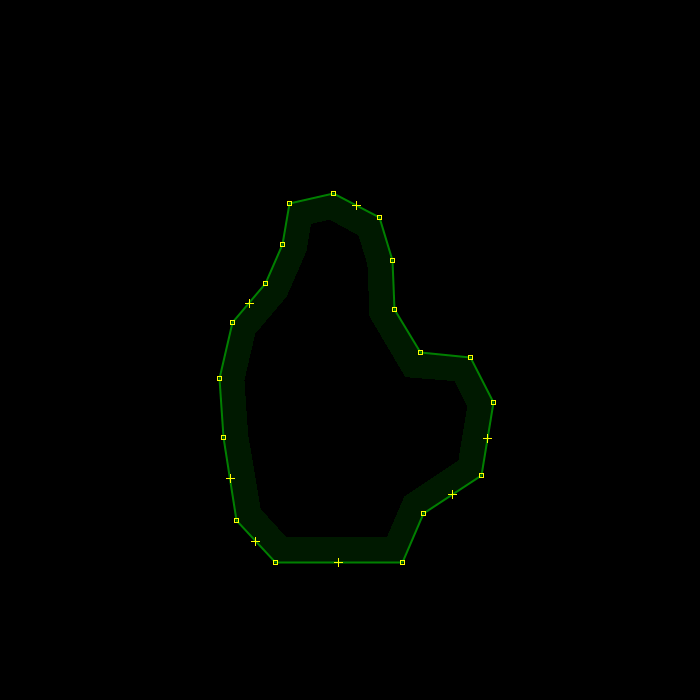
11th manipulation: Shrinkwrap (Ctrl+Alt+W)
The Shrinkwrap plugin allows you to create a new shape that encompasses the selected shapes (Ctrl+Alt+W).
Very useful for creating a single building=yes shape that encompasses all building:part=yes shapes.
Discussion
Comment from DressyPear4 on 1 April 2026 at 19:17
Go further, with the Scripting plugin and some code, it’s a perfect combination for symmetry and alignment.
Comment from あじさか on 2 April 2026 at 10:05
Thanks! I’ve bookmarked it for later 🙂
Comment from AntiCompositeNumber on 2 April 2026 at 11:59
Replace Geometry also works for node -> way. One of the nodes of the new way will be replaced with the original node, and the tags copied. Not a perfect solution for maintaining histories when changing object type, but it does help some.
Comment from Tomas09 on 6 April 2026 at 22:42
Epic
Comment from wolfbert on 7 April 2026 at 16:13
Thanks, I’ve been missing some of these for a long time!
Comment from evgenykatyshev on 16 April 2026 at 08:01
Thanks a lot!
Comment from Exe19 on 18 April 2026 at 18:23
I knew most of them, thank you very much for the extra ones!
Comment from purplefractal on 22 April 2026 at 21:52
Thank you!